はじめてのIonicアプリ: Angular
Ionic の素晴らしいところは、1 つのコードベースで、使い慣れた Web ツールと言語を使用して任意のプラットフォーム用にビルドできることです。 Follow along as we learn the fundamentals of Ionic app development by creating a realistic app step by step.
Here’s the finished app running on all 3 platforms:
Looking for the previous version of this guide that covered Ionic 4 and Cordova? See here.
What We'll Build
We'll create a Photo Gallery app that offers the ability to take photos with your device's camera, display them in a grid, and store them permanently on the device.
Highlights include:
- One Angular-based codebase that runs on the web, iOS, and Android using Ionic Framework UI components.
- Deployed as a native iOS and Android mobile app using Capacitor, Ionic's official native app runtime.
- Photo Gallery functionality powered by the Capacitor Camera, Filesystem, and Preferences APIs.
Find the complete app code referenced in this guide on GitHub.
Download Required Tools
Download and install these right away to ensure an optimal Ionic development experience:
- Node.js for interacting with the Ionic ecosystem. Download the LTS version here.
- A code editor for... writing code! We are fans of Visual Studio Code.
- Command-line interface/terminal (CLI):
- Windows users: for the best Ionic experience, we recommend the built-in command line (cmd) or the Powershell CLI, running in Administrator mode.
- Mac/Linux users, virtually any terminal will work.
Install Ionic Tooling
Run the following in the command line terminal to install the Ionic CLI (ionic), native-run, used to run native binaries on devices and simulators/emulators, and cordova-res, used to generate native app icons and splash screens:
To open a terminal in Visual Studio Code, go to Terminal -> New Terminal.
npm install -g @ionic/cli native-run cordova-res
The -g option means install globally. When packages are installed globally, EACCES permission errors can occur.
Consider setting up npm to operate globally without elevated permissions. See Resolving Permission Errors for more information.
アプリの作成
次に、"Tabs" というアプリテンプレートを使用して Ionic Angular アプリを生成し、Native 機能を使うために Capacitor を追加します。
ionic start photo-gallery tabs --type=angular --capacitor
このスタータープロジェクトには、Ionic 開発のために事前に構成された 3 つのページとベストプラクティスが用意されています。共通の構成要素がすでに配置されているため、機能を簡単に追加できます!
次に、アプリのフォルダに移動します:
cd photo-gallery
Next we'll need to install the necessary Capacitor plugins to make the app's native functionality work:
npm install @capacitor/camera @capacitor/preferences @capacitor/filesystem
PWA Elements
Some Capacitor plugins, including the Camera API, provide the web-based functionality and UI via the Ionic PWA Elements library.
It's a separate dependency, so install it next:
npm install @ionic/pwa-elements
Next, import @ionic/pwa-elements by editing src/main.ts.
import { defineCustomElements } from '@ionic/pwa-elements/loader';

// Call the element loader before the bootstrapModule/bootstrapApplication call
defineCustomElements(window);
That’s it! Now for the fun part - let’s see the app in action.
アプリを起動
次のコマンドを実行してください:
ionic serve
And voilà! Your Ionic app is now running in a web browser. Most of your app can be built and tested right in the browser, greatly increasing development and testing speed.
Photo Gallery!!!
There are three tabs. Click on the Tab2 tab. It’s a blank canvas, aka the perfect spot to transform into a Photo Gallery. The Ionic CLI features Live Reload, so when you make changes and save them, the app is updated immediately!

Open the photo-gallery app folder in your code editor of choice, then navigate to /src/app/tab2/tab2.page.html. We see:
<ion-header>
  <ion-toolbar>
    <ion-title>Tab 2</ion-title>
  </ion-toolbar>
</ion-header>

<ion-content>
  <ion-header collapse="condense">
    <ion-toolbar>
      <ion-title size="large">Tab 2</ion-title>
    </ion-toolbar>
  </ion-header>
</ion-content>
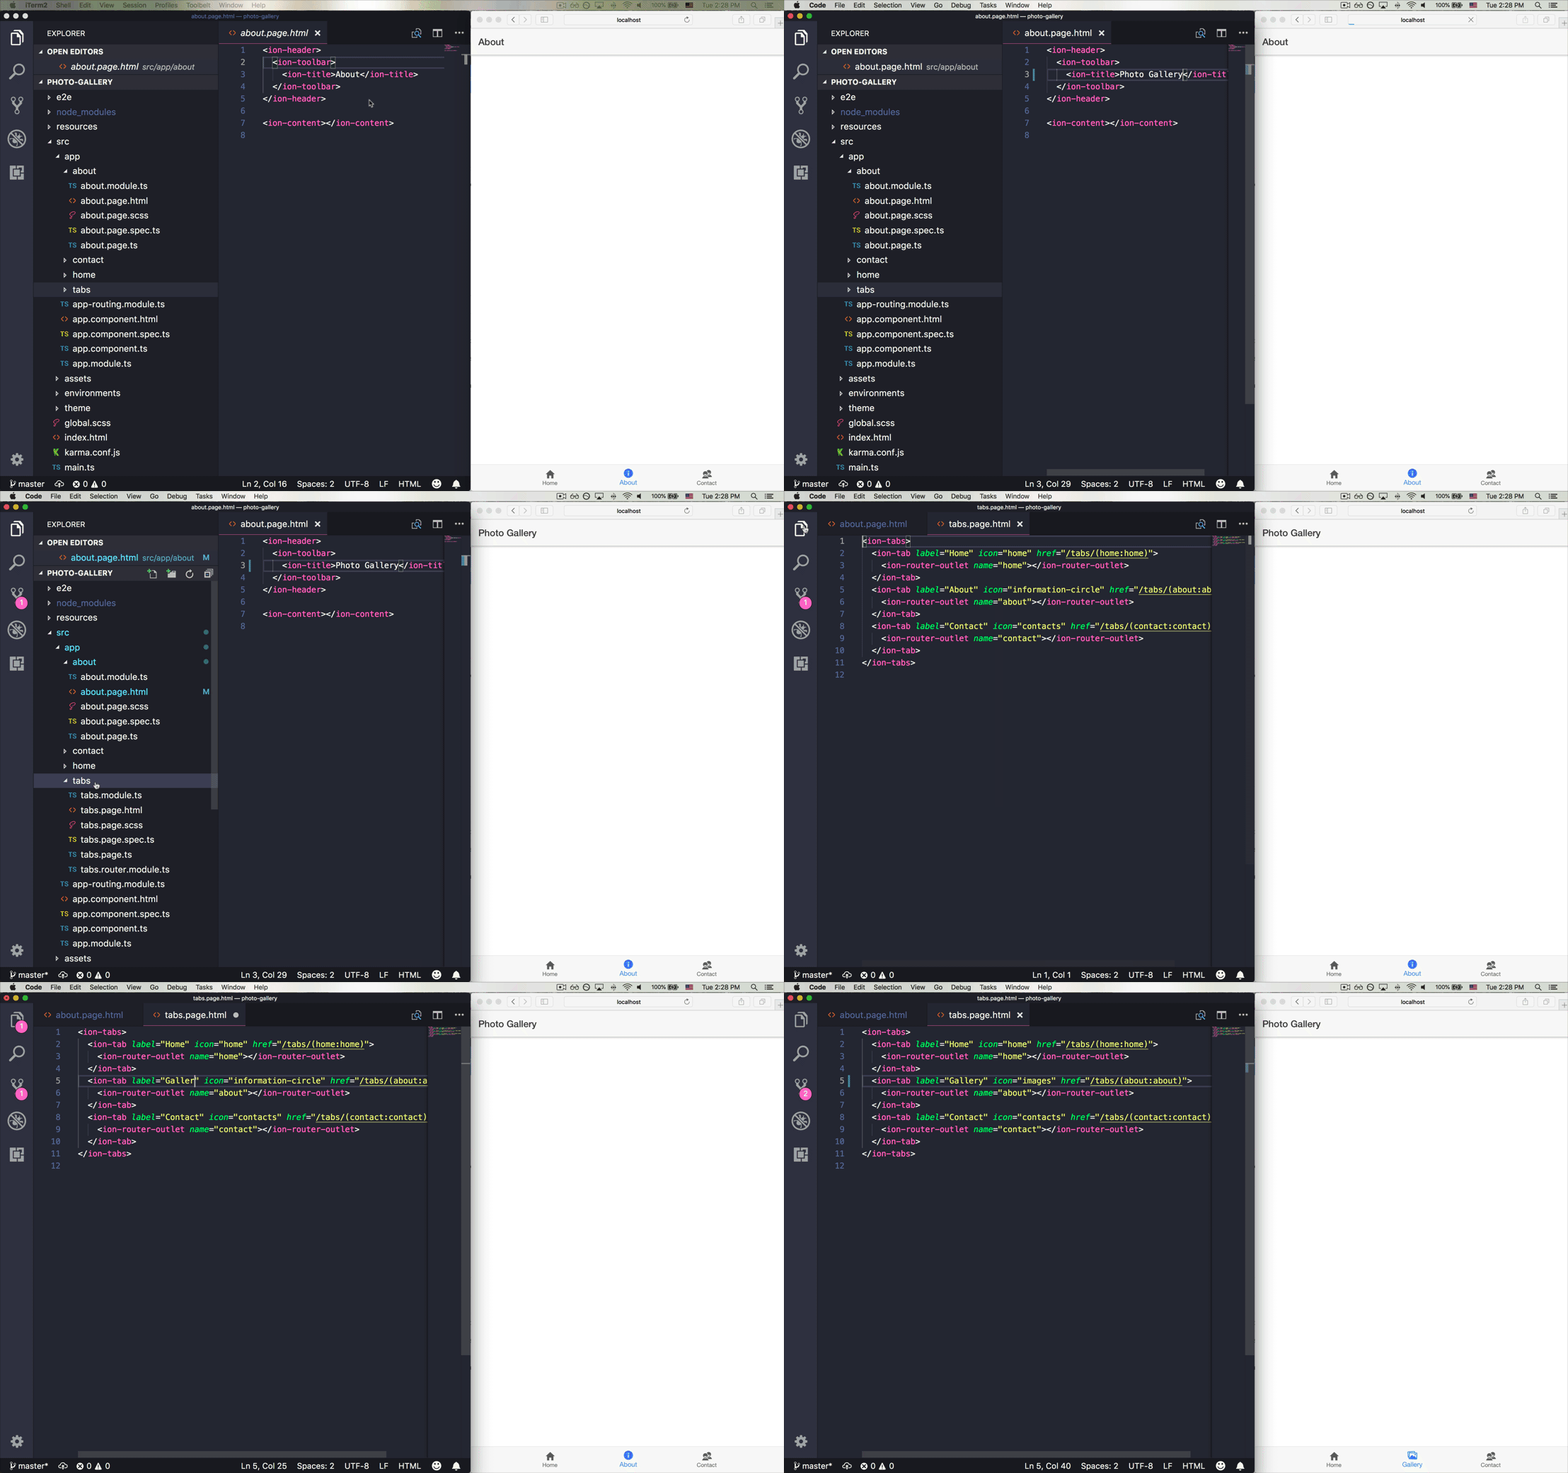
ion-header represents the top navigation and toolbar, with "Tab 2" as the title (there are two of them due to iOS Collapsible Large Title support). Rename both ion-title elements to:
<ion-title>Photo Gallery</ion-title>
We put the visual aspects of our app into <ion-content>. In this case, it’s where we’ll add a button that opens the device’s camera as well as displays the image captured by the camera. Start by adding a floating action button (FAB) to the bottom of the page and set the camera image as the icon.
<ion-content>
  <ion-fab vertical="bottom" horizontal="center" slot="fixed">
    <ion-fab-button>
      <ion-icon name="camera"></ion-icon>
    </ion-fab-button>
  </ion-fab>
</ion-content>
Next, open src/app/tabs/tabs.page.html. Change the label to “Photos” and the icon name to “images”:
<ion-tab-button tab="tab2">
  <ion-icon name="images"></ion-icon>
  <ion-label>Photos</ion-label>
</ion-tab-button>
Save all changes to see them automatically applied in the browser. That’s just the start of all the cool things we can do with Ionic. Up next, implement camera taking functionality on the web, then build it for iOS and Android.